Customize the look of your Fitbit Sense or Versa, Versa Lite, Versa 2, or Versa 3 smartwatch by installing a new clock face. There are hundreds of analog and digital clock face designs in the Fitbit Gallery. Here’s how:
1. Open the Fitbit app

On your phone, open the Fitbit app.
2. Go to your account

Tap your account icon at the top-left.
3. Select your Fitbit smartwatch

Select your Fitbit Versa or Sense smartwatch.
4. Go to “Gallery”

Tap “Gallery” from the screen to go to the Fitbit Gallery.
5. Select “Clocks” from the top

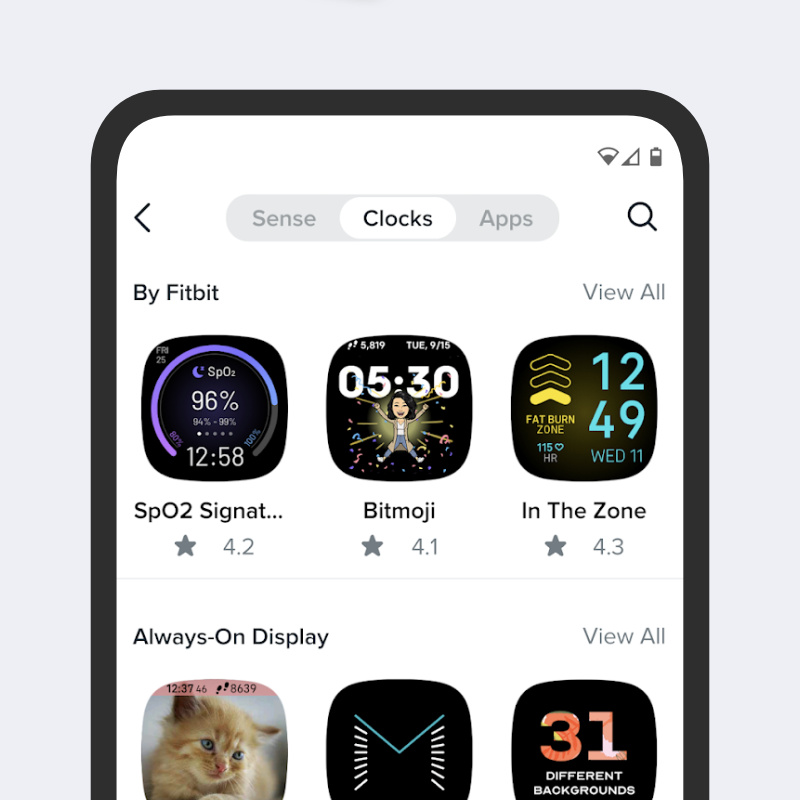
At the top of the screen, tap “Clocks” to go to the Fitbit Gallery for clock faces.
6. Browse the gallery

Welcome to the Fitbit Gallery! Here, browse for a clock face. You can also search by tapping the search icon at the top-right. When you find a clock face you want to install, tap it.
7. Install a clock face

When you find a clock face you’d like to install, click “Install”
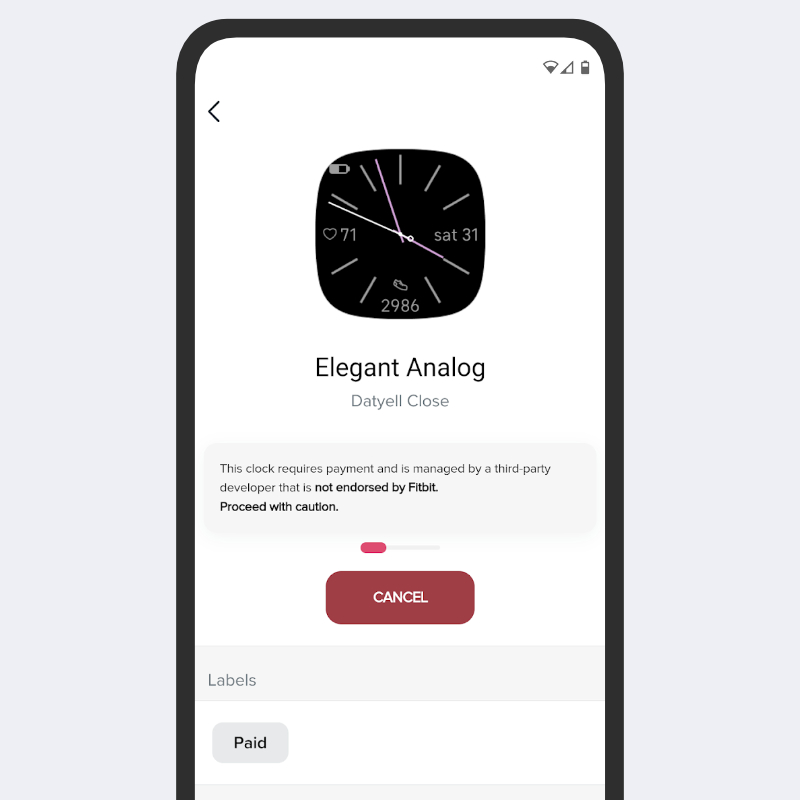
8. Accept Notice of Payment

This notice will appear with clock faces which require payment. You can review the clock face’s description for details on the price and purchase process of the clock face.
9. Approve permissions

Approve permissions you would like to grant to the clock face. For example, you’ll need to approve the Activity permission in order for a clock face to show your step count. Internet is required for clock faces which require payment.
10. The clock face will now be installed

The Fitbit app will now install the selected clock face on your Fitbit watch. If this is a paid clock face, follow the directions shown on your Fitbit watch to complete the purchase process.
And that’s it! You can install up to five clock faces on your Fitbit watch at a time. And, if your looking for new clock faces, view my clock faces for Fitbit smartwatches here.
